
The CMH Signature Color & Stamped Concrete 10 Step Process
Customers choose color and stamped concrete to achieve a dramatic effect for their patio, driveway, or garage floor. The reason it costs more than standard brush finish concrete is because of the additional dyes, molds, and chemicals required to install it, as well as the labor intensive process that includes multiple steps illustrated below. Furthermore, there are time constraints the crew is required to follow in order to synchronize the stamping with the concrete’s curing process. This is a time and labor intensive process using commercial grade dyes, molds, and sealers to achieve optimum results so that the finish product looks as good as the pictures!
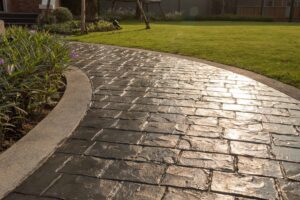 Step 1: Begin With End In Mind
Your color stamped concrete path begins with you and your selection of a concrete color and stamp design. This includes your concrete color selection (CLICK HERE) and your selected stamped pattern design (CLICK HERE).
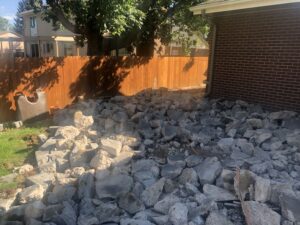
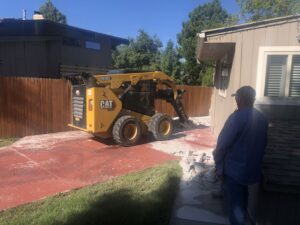 Step 2: Demo Existing
Most concrete projects start with removing the old concrete. The demolition process involves jack-hammering the old slab, then moving it to a dump truck or trailer so it can be hauled away. Breaking up concrete is a noisy, dusty, and messy process but a necessary first step to make way for your new slab.
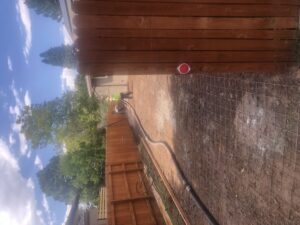
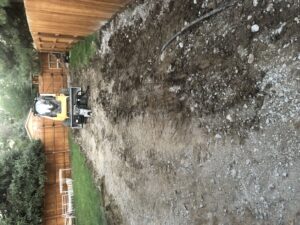 Step 3: Excavating, Leveling and Forming
Once the old concrete is removed we then level the surface and grade it for optimum drainage. We then use lasers to set the necessary slope and determine where to place the forms. Once forms are set we carefully adjust them to ensure that the new concrete will flow exactly where it needs to go once the trucks arrive and we start pouring.
 This is also when we install any conduit or pipes that you may need under your slab. This is particularly important if you need to put an irrigation line under the concrete to deliver water on the other side of the slab. Please note that we do not cover irrigation lines that may be damaged during excavation, and recommend turning off your sprinkler system during this stage. You will want to alert your sprinkler service to be on call to plug or reroute any affected lines.
Once we have the forms in place we install the reinforced steel mesh between the forms to add strength to your slab.
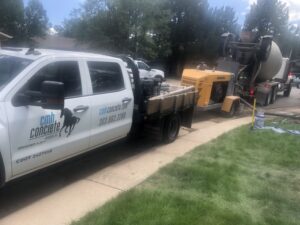
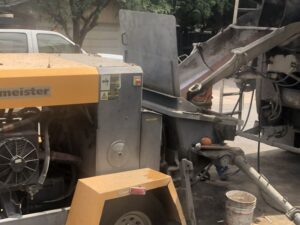
Step 4: Coloring and Pouring
Once the concrete truck arrives your CMH Concrete Crew will dump bags of concentrated dye into the mixer to get the desired color of concrete to match the stamped pattern you have selected. These bags of dye are added to precisely match the volume of concrete in the mixer. Once it is thoroughly mixed the concrete pump is set up and will start pumping the color concrete to your form ready area for your new slab.
Step 5: Installation
You will notice that the mixture viscosity is more fluid than standard concrete pours. That is because of the extensive finishing process that is time intensive to prepare the new concrete for the 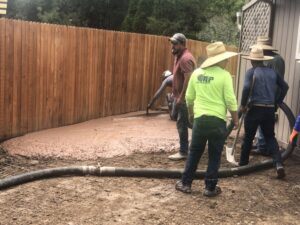 stamping process.
Installation of this color concrete mixture requires special tools and techniques so it is optimized for the stamping process to follow.
CMH is recognized as “Denver’s Best Concrete Crew” because of 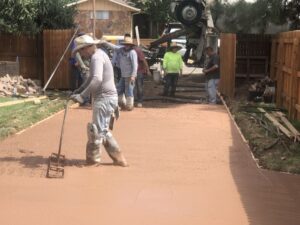 the team’s extensive experience finishing concrete. This requires knowledge, skill and speed. Our seasoned professionals know exactly what needs to be done and in precise sequence to get you to best possible concrete finish.
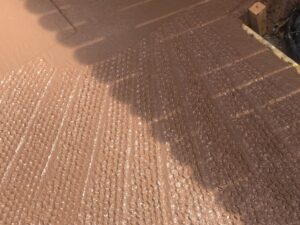

Step 6: Color Contrast Catalyst and Stamping
Once your color concrete cures for a specified period of time, the next stage is critical in achieving the aesthetic impact for the color and stamped pattern. The team lead will determine the perfect time to start the color depth and stamping process. The 2 videos below illustrate this process. CMH stamp specialists apply a ‘color catalyst’ powder liberally across the surface of the color concrete. This does two things: it adds contrasting depth colors to the surface of the color concrete, and it provides a buffer to keep the molds from sticking to the curing concrete.
Next, they carefully apply and lock into place the stamp molds in an interlocking array formation to ensure consistency in the design pattern. They then used a weighted stamping tool to tamp the mold so it will bite into the concrete and yield the distinctive design pattern we are after. Simultaneously the concentrated catalyst color powder is pushed into the surface of the color concrete and reacts with the cement yielding multiple colors that enhance the stamped pattern.
Step 7: Catalysts and First Stage Curing
Once the stamping is completed across the entire new slab, the crew leaves it overnight to cure and for the embedded color catalysts to react with the base of color concrete.
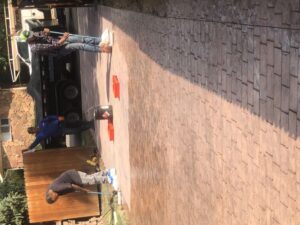
Step 8: Final Phase: Expansion Joints, Blowing, Pressure Wash Toning, and Sealing
The next day your CMH Crew will sweep up all of the excess powder on the surface of your slab. They will carefully measure and strategically cut expansion joints in your new concrete pad. Next, they will power wash the entire slab while simultaneously adjusting the coloration from the catalyst. By adjusting the pressure washer they control the depth of penetration and bring out the optimum colors needed to achieve your ideal stamped design.
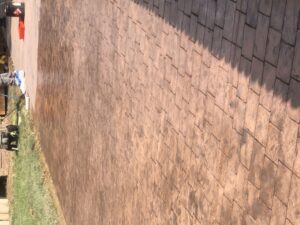
Once this process is complete, the surface is thoroughly dried and a commercial grade sealer is applied to yield the full color of you new stamped design. While there are 2 options for the sealer: matte and gloss, the gloss sealer finish magnifies the underlying colors and brings the stamped pattern to life.

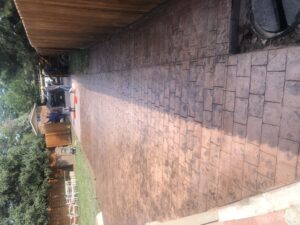
Step 9: Curing
You will need to keep foot traffic off your new stamped concrete for at least 48 hours. No vehicles are allowed on the new slab for at least 7 days because, while the surface may look hard, the underlying structure of the concrete needs to continue to cure and harden throughout the slab.
Step 10: Maintenance
In 45-60 days after installation of your stamped concrete you will need to apply a second coat of the sealer. Then the following year, another coat, and every 2 years thereafter to preserve the color and finish of your stamped concrete slab.